Documentation
Table of Contents
- Layout
- Library
- Layers
- Inspector
- Shapes
- Full Screen Mode
- Display Controls
- Saving & Loading Projects
- External Control (OSC)
- Troubleshooting
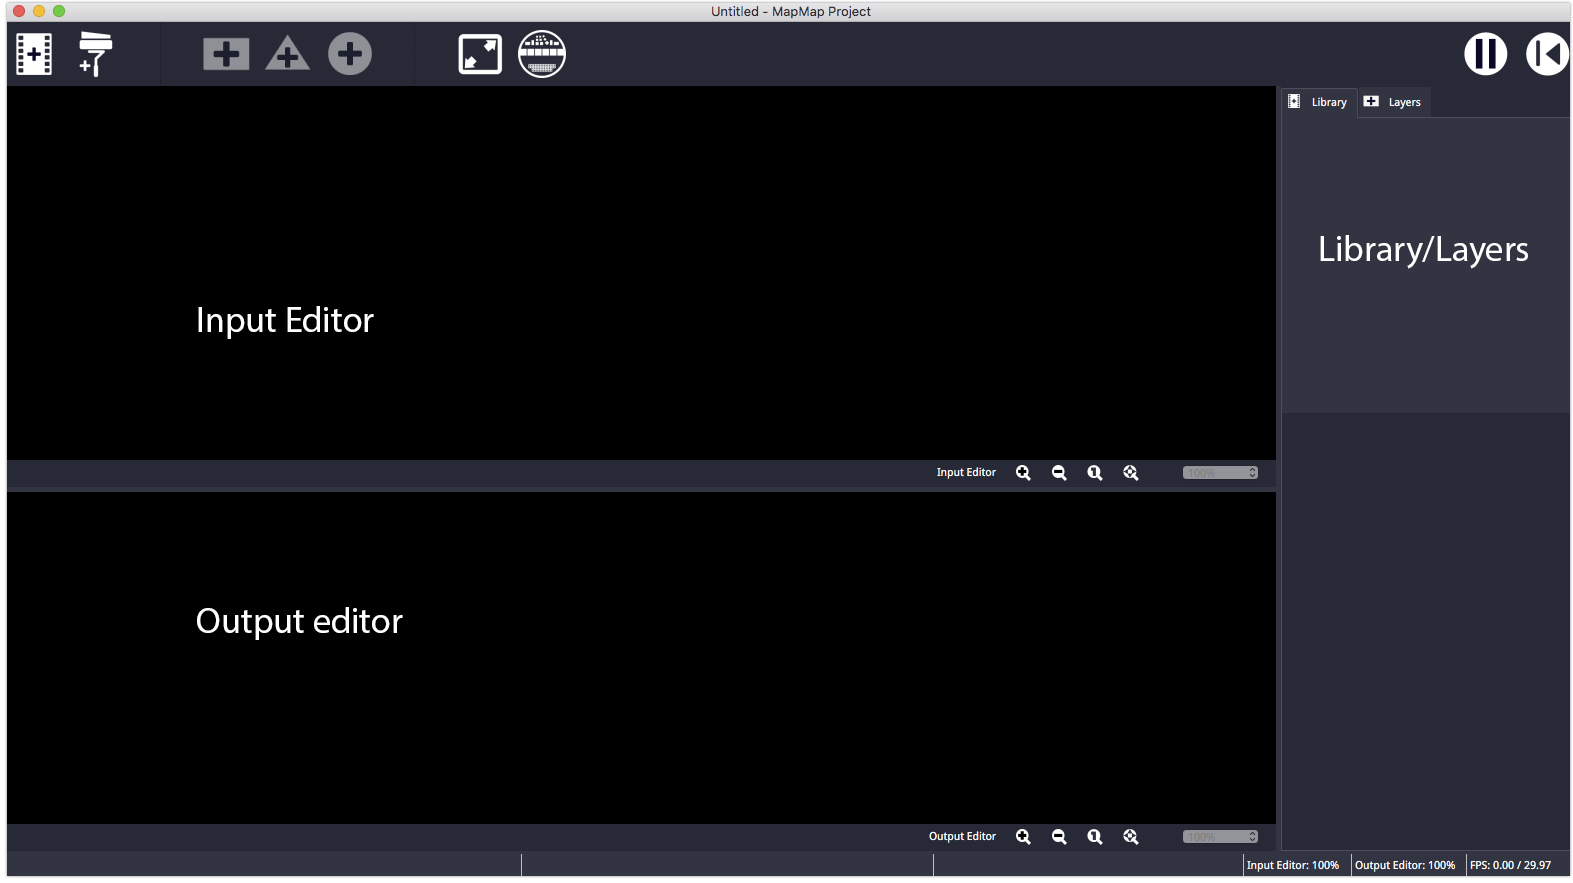
Layout
MapMap consists of several different windows, icons, and menu options. The main windows are the Library, Layers, Input Editor and Output Editor.
Library
The Library contains the collection of sources that can be used in MapMap. The supported sources are:
- Media files such as:
- Video (see preferred video formats below)
- Still images (PNG, JPEG, etc)
- Animated GIFs
- Color paints/masks
- Webcams (currently on Linux version only)
- …and more to come in future versions
Media Sources
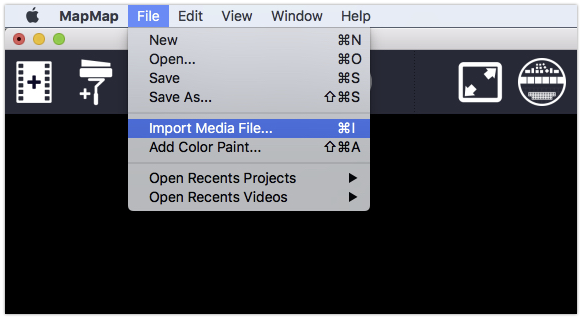
Importing new media can be done in multiple ways:
- Clicking on File > Import media file…
- Hitting CTRL+I
- Clicking the icon in the toolbar
- Drag and drop media directly into the library window
Preferred Video Formats:
- Containers: .mov, .avi, .mp4, .ogg, .ogv
- Video codec formats: Motion-JPEG / Photo-JPEG, MPEG4, Apple Pro Res 422
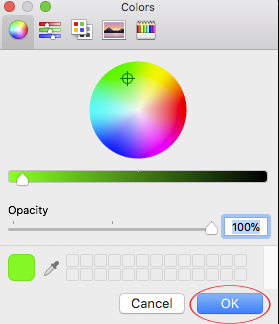
Color Sources
Adding color paints to the library can be done by choosing File > Add color paint or by clicking on the icon in the toolbar.
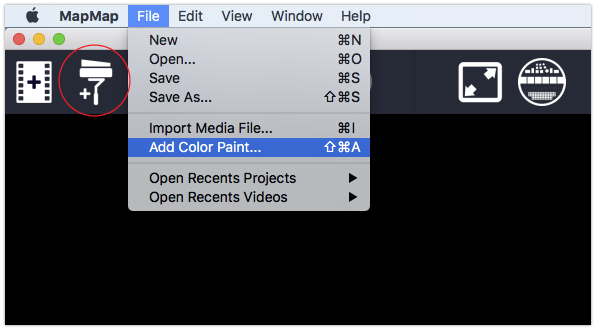
Once clicked, the following menu will appear. Once a color has been selected, click “Ok” to add the color to the library.
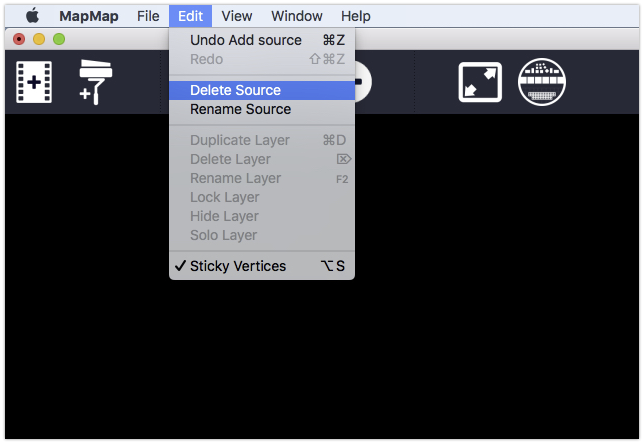
Media sources can be deleted by selecting them in the Library list, and then choosing the Edit > Delete menu item or by control-clicking on a media source and choosing “delete source”. Since all the layers that use that source will also be deleted, a dialog will ask you for confirmation.
Layers
To the right of the library tab is the layers tab. Layers are media sources that are displayed in the output editor. Layers are created when a source from the library is selected and turned into a quad, triangle, or ellipse. This tab allows users to show/hide, lock, duplicate, and delete layers.
![]()
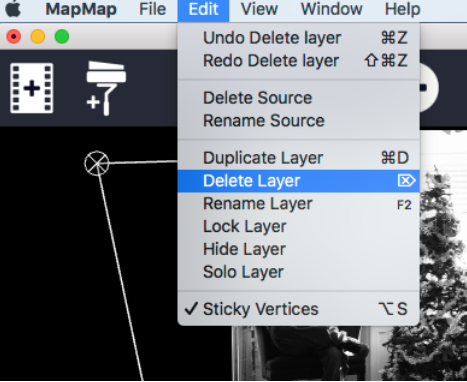
Layers can be deleted by selecting them in the layer list, and then choosing the “Edit > Delete” menu item.
Layers can be rearranged by dragging them on top of or below each other. Doing this also controls the layer arrangement in the output editor. Layers add vertices to the source which allows the source to be edited in a variety of ways.
Next to each layer name, there are five icons:
- Hide Icon: Hides or shows the layer.
- Isolate Icon: Isolates the layer selected.
- Lock Icon: Locks or unlocks the layer so it can’t be modified.
- Duplicate Layer Icon: Duplicates a layer with all its settings.
- Delete Icon: Deletes the selected layer.

Inspector
Below the Library and Layers tab is the Inspector menu. This menu changes according to what is selected in the Library or Layers tab. Through the Inspector menu, users can modify the selected source in a variety of ways.
Layer Inspector Options
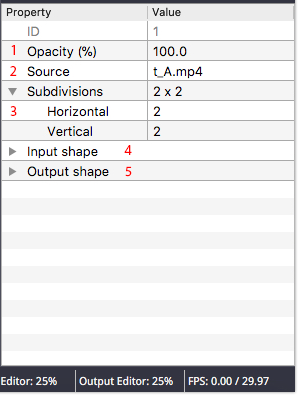
- Layer opacity can be changed on a 0 to 100% scale.
- Video sources can be changed to any source in the library via the source drop-down menu.
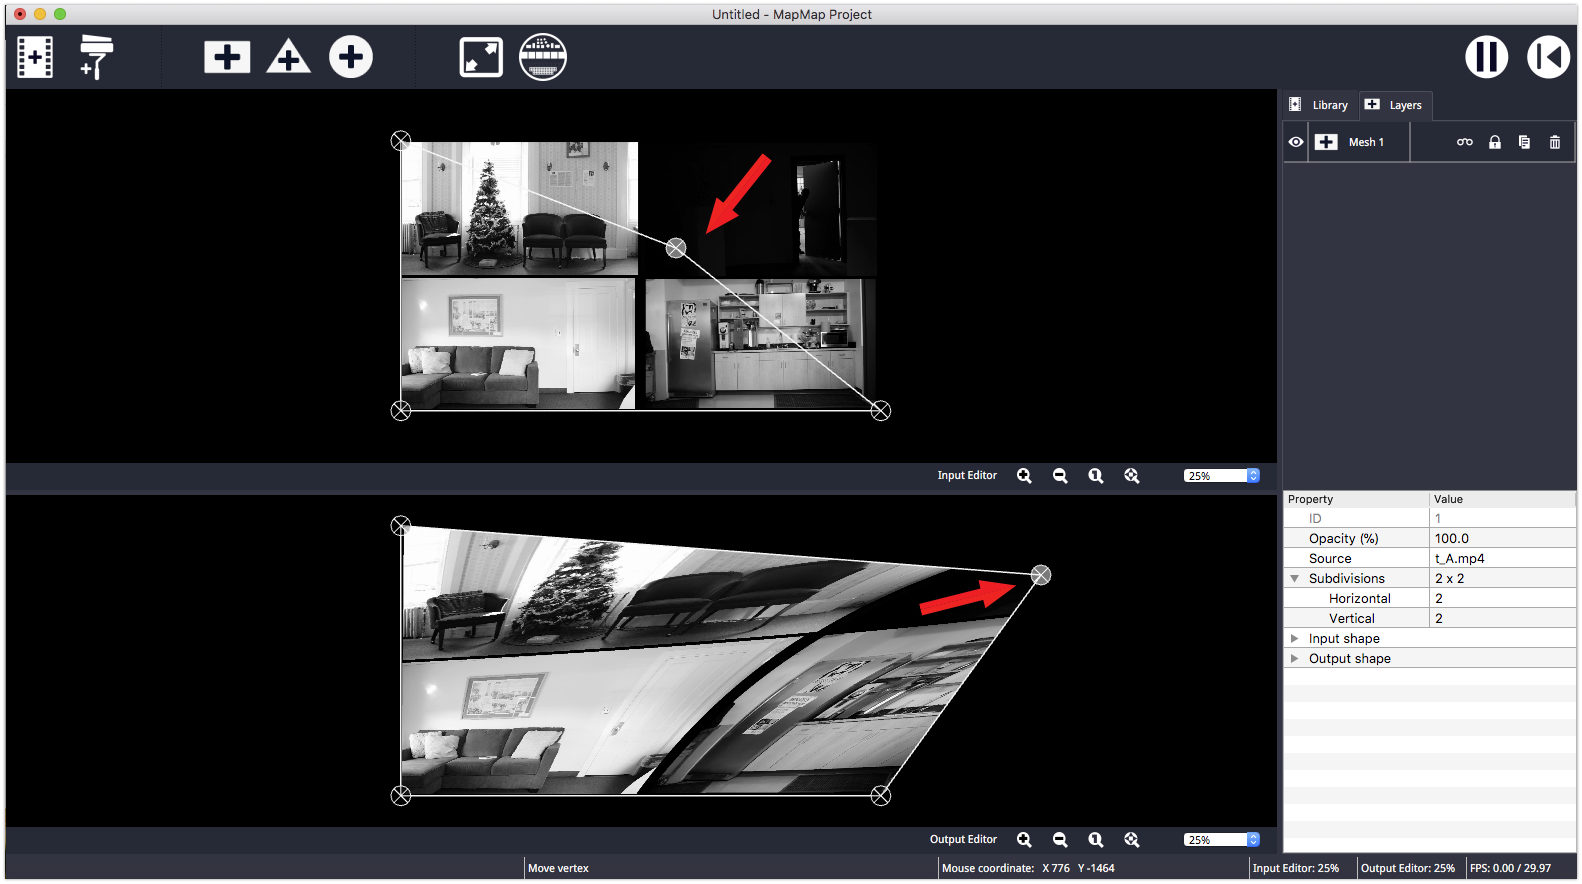
- For Mesh Layers, there is an additional option titled “Subdivisions”. This option allows the user to add additional subdivisions to the original square shape. These shapes can then be modified to create complex mappings onto a variety of screen shapes/geometries.
- X and Y vertices for each point of the input shape can be modified.
- X and Y vertices for each point of the output shape can be modified.
Library Inspector Options
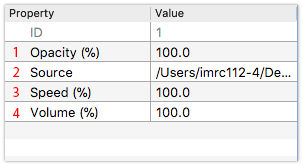
- Source opacity can be changed on a 0 to 100% scale.
- Source location can be modified by clicking on the ”…” button so that a source can be swapped for another or relocated on the user’s hard drive.
- Source speed can be changed on a 0 to 100% scale.
- Source audio volume can be changed on a 0 to 100% scale.
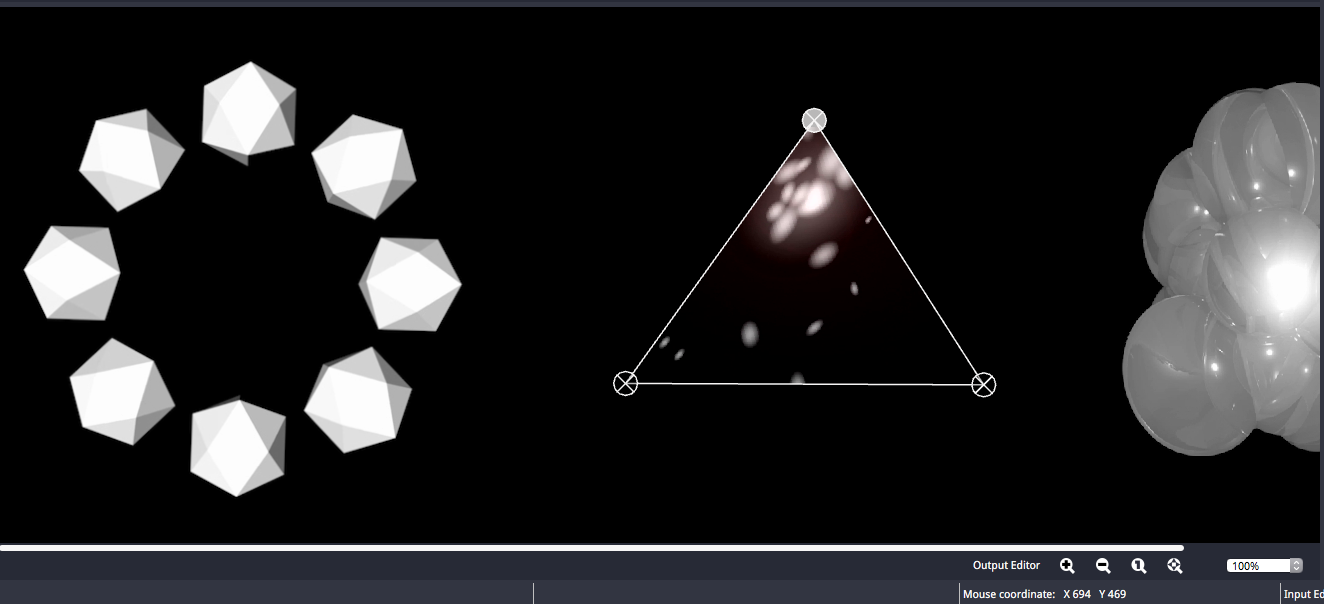
Shapes
Currently supported shapes are: Quads/Mesh, Triangle and Ellipse. When Meshes have a dimension of two by two (2x2) vertices, they are called Quads. When they have more than 2x2 vertices, they are called a Mesh. A Mesh is a grid of vertices that allow more flexible mapping for complex output shapes.
To create a new shape, choose a source in the library and click on the Quad/Mesh, Triangle, or Ellipse icon. A new shape will immediately be displayed in the Output Editor, where the size and shape of it can be manipulated by clicking and dragging its vertices. You can also click on a vertex and use the arrow keys to make micro adjustments to its position. You can also use the number boxes in the inspector window to move the vertices manually. To turn a Quad into a Mesh, change its dimension by adjusting its width and height number boxes.
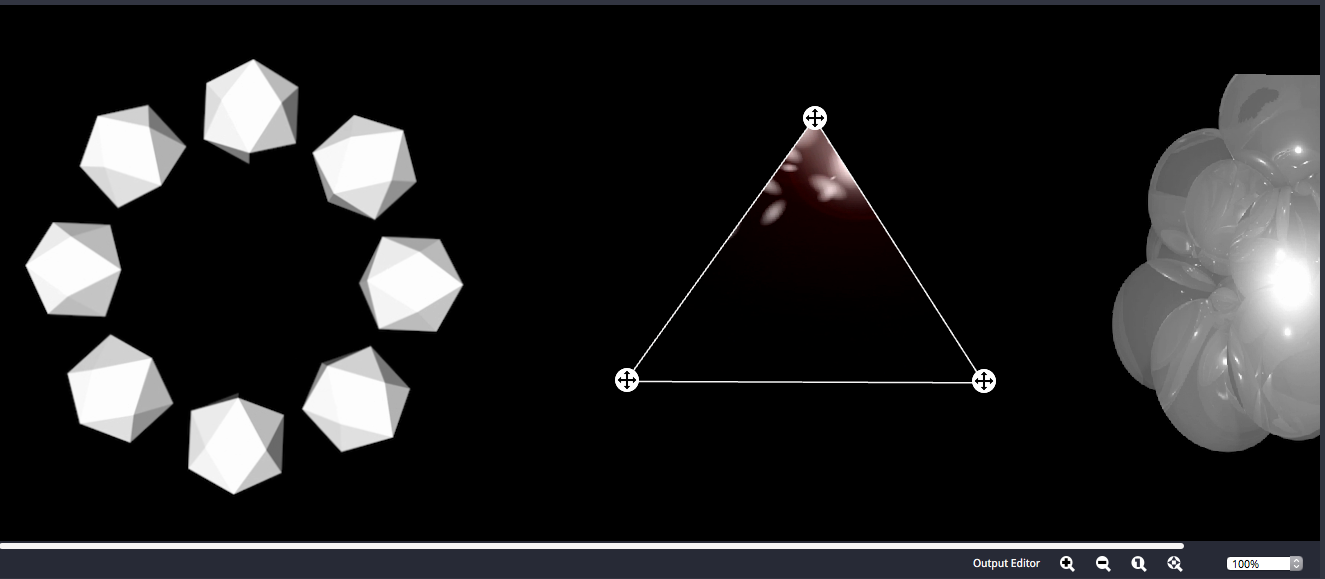
Transform Tools
Shapes can also be transformed via a set of transform controls. Click on a vertex and then use the following keyboard shortcuts to activate the controls:
M = Move
R = Rotate
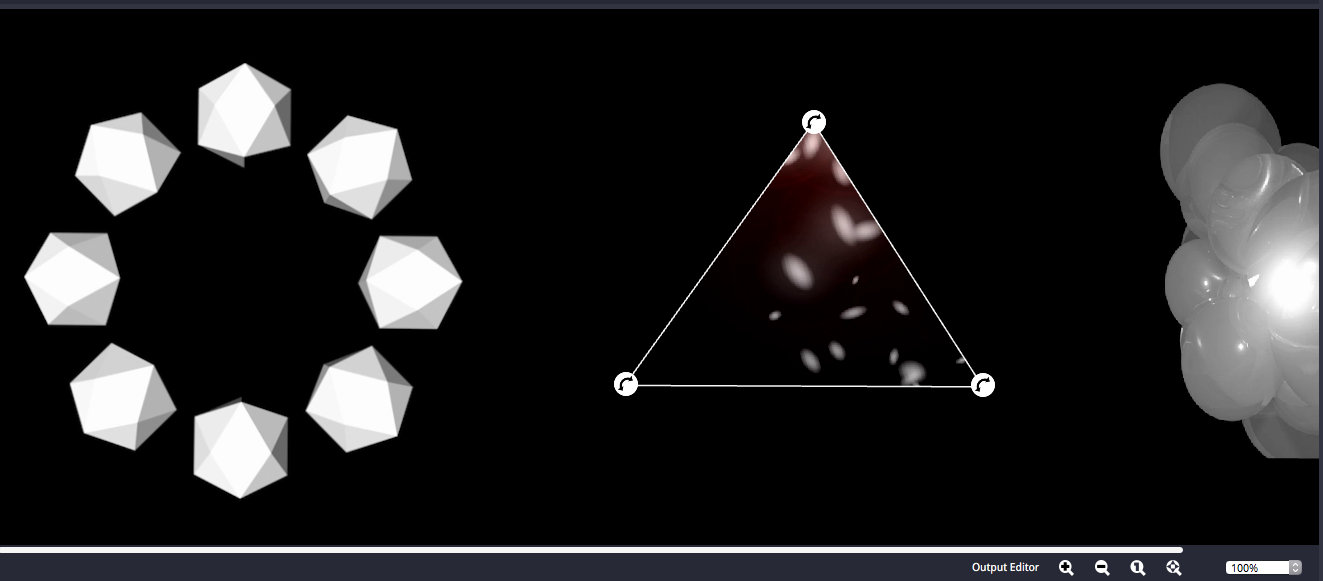
S = Scale
Full Screen Mode
Before projection mapping onto a surface, check the system preferences on your machine to make sure your computer is not set on mirroring, but instead is set so that your projector is an external/additional monitor. Then use the Toggle Full Screen icon at the top of the MapMap menu to send the output editor content to your projector or external monitor.

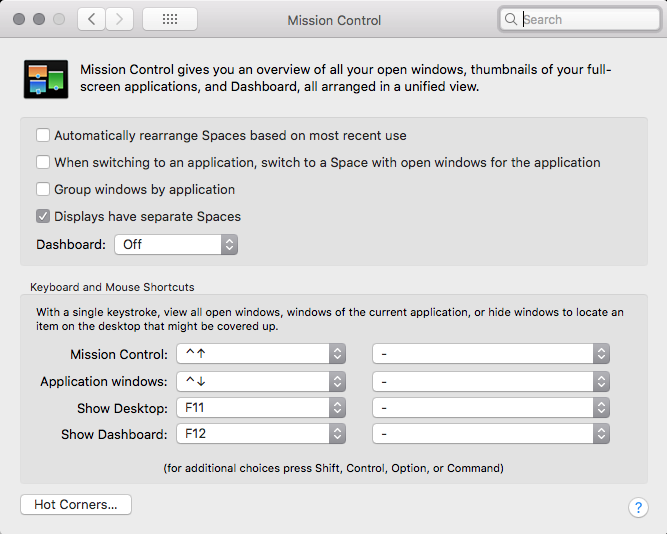
Special note for Apple users: In your System Preferences > Mission Control, make sure that “Displays have separate Spaces” is checked or you will have control issues when you go to full screen.
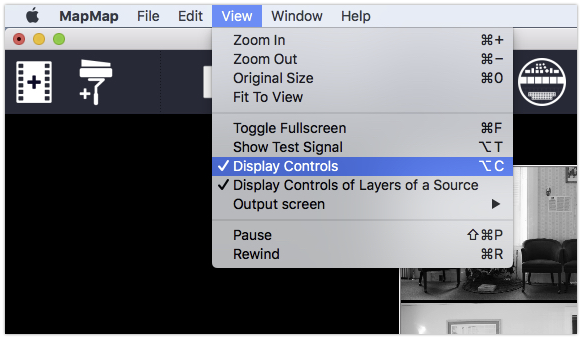
Display Controls
Display Controls give the user the ability to select and move vertices both in the input and output editor menus. To hide these controls, click on the top menu “View” and then click on “Display controls”. Click on it again to re-enable Display Controls.
Saving & Loading Projects
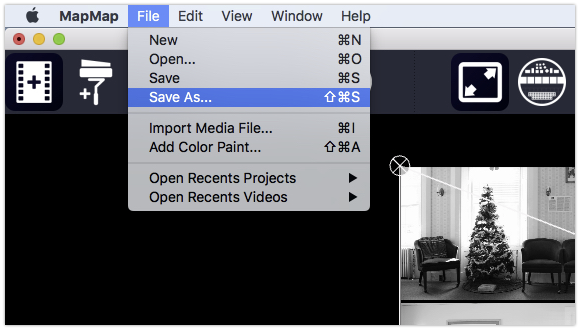
Save the Project to a File
To save the current project, choose “File > Save as…” and then choose a file name. The file extension is “.mmp”, but the file format is simply XML.
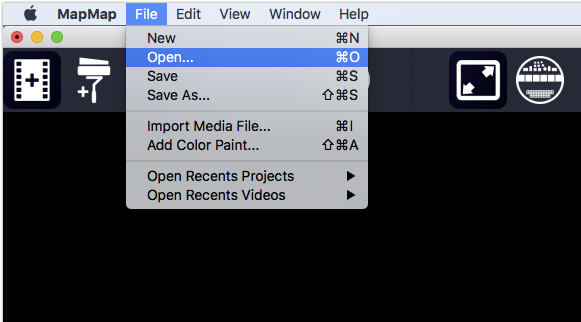
Load a Project from a File
To load a project from a file, choose “File > Open…”.
External Control (OSC)
IMPORTANT: This feature is currently not supported on macOS.
MapMap supports the OpenSoundControl communication protocol. Currently supported actions allow full control of existing sources and layers, such as changing a source file, adjusting opacity and visibility, changing volume, etc.
The default OSC port can be changed from the Preferences menu.
MapMap provides a flexible way to control groups of sources and layers using regular expressions. For example, the following OSC message will change the opacity of all sources whose name starts with “movie-” to 50%:
/mapmap/paint/opacity ,sf "movie-*" 0.5Troubleshooting
macOS
To display more information about errors that might occur, launch MapMap from the command line. To do so, open the Terminal application (located in /Applications/Utilities from Finder), then type:
/Applications/mapmap.app/Contents/MacOS/MapMapHit the Return key to launch.